Introduction
TensorFlow is Google’s open-source platform for machine learning designed to simplify the process of implementing machine-learning models.
Researchers, data scientists, and developers use this end-to-end library for numerical computation. TensorFlow runs on multiple CPUs, GPU, as well as mobile operating systems.
In this tutorial, learn how to install TensorFlow on CentOS 7.
Prerequisites
- A CentOS Linux system
- Access to a command line/terminal window (Ctrl+Alt+F2)
- A user account with sudo privileges
- Access to the root user
- Pip 19.0 or later
Step 1: Enable and Update EPEL Repository
To download the required packages and dependencies, you’ll first need to install and update the EPEL repository. Use the following two commands:
sudo yum -y install epel-releaseyum -y update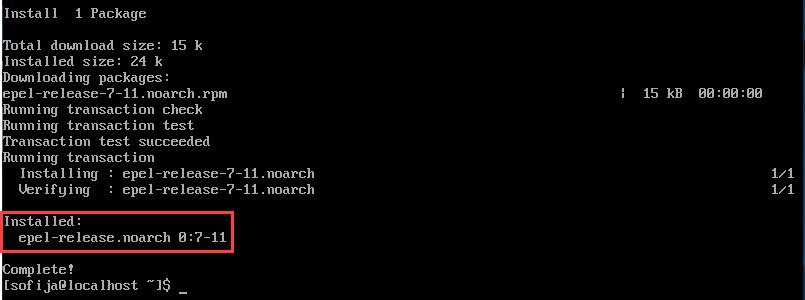
Step 2: Install Required Packages
Although TensorFlow supports multiple languages, Python is the one that provides the most features.
If you do not have Python installed on CentOS, run the following command to install pip (a package management system for Python) and the language itself:
sudo yum -y install gcc gcc-c++ python-pip python-devel atlas atlas-devel gcc-gfortran openssl-devel libffi-devel
The output shows that the system downloaded dependencies.

Step 3: Create a Virtual Environment
Next, create an environment variable that points to the download URL for TensorFlow. Doing so isolates the package installation from the CentOS system.
Using the pip command, install and upgrade a virtual environment software. We recommend using Virtualenv, a tool specifically designed for creating isolated Python environments.
Use the following command to install and upgrade Virtualenv on CentOS:
pip install --upgrade virtualenv
Warning: The next step requires access to the root environment and home directory. Changing to the root shell is required. Run the following command to switch to it: sudo su -. Type in the password for the root user and press Enter.
Create a new environment by typing:
virtualenv --system-site-packages ~/venvs/tensorflow
Finally, activate the environment:
source ~/venvs/tensorflow/bin/activateActivating the environment changes the command line prompt, adding the virtual environment’s bin directory as a prefix. This means you are now working inside the virtual environment.
Step 4: Install TensorFlow
After setting up and activating the virtual environment, you can finally move on to installing the TensorFlow library. There are two available software packages, TensorFlow for CPU and TensorFlow for GPU.
Install TensorFlow for CPU
The default software package supports CPU-powered machine-learning workloads. To install the latest stable release of TensorFlow for CPU (recommended for beginners) and dependencies, type:
pip install --upgrade tensorflow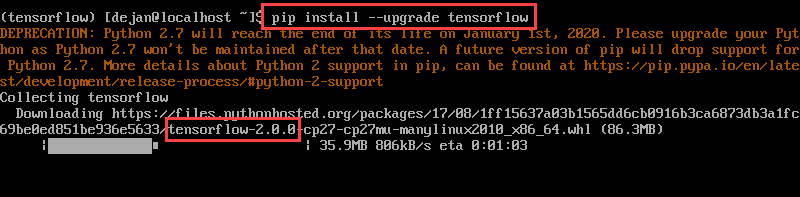
Install TensorFlow for GPU
TensorFlow for GPU supports GPU-powered machine-learning workloads. To install the latest stable release of TensorFlow for GPU (recommended for beginners), execute the following command:
pip install --upgrade tensorflow-gpu
Note, TensorFlow with GPU support needs additional hardware and software. To learn more, refer to TensorFlow’s documentation on GPU support.
Install Older Versions of TensorFlow
To install TensorFlow for CPU version 1.14 or older, run the command in the following format:
pip install tensorflow==package_versionFor example, to install TensorFlow for CPU version 1.14, type:
pip install tensorflow==1.14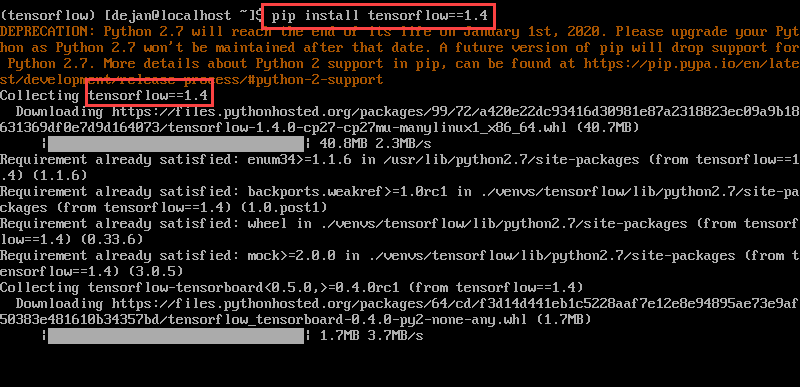
To install TensorFlow for GPU version 1.14, type the command in the following format:
pip install tensorflow-gpu==1.14TensorFlow 1.15 supports both CPU and GPU workloads in a single package. To install the 1.15 release, run the following command:
pip install tensorflow-gpu==1.15rc2Note: Visit our full tutorial on upgrading and downgrading TensorFlow.
Step 5: Verify TensorFlow Installation
Verify TensorFlow installation with the following command:
python -c "import tensorflow as tf;print(tf.reduce_sum(tf.random.normal([1000, 1000])))"Conclusion
With the help of this guide, you have successfully installed TensorFlow on a CentOS 7 system. You can also create virtual environments, check versions of TensorFlow, and can verify the installation.
If you have a system running Ubuntu 18.04, our TensorFlow installation for Ubuntu can help.
