Introduction
Wine is a compatibility layer for Linux that allows you to run Windows programs on a Linux system. It translates Windows API calls into native Linux commands, enabling Windows programs to run seamlessly.
This tutorial teaches you how to install Wine on Ubuntu using two different repositories.

Prerequisites
- A user account with sudo or root privileges.
- Ubuntu system (this tutorial uses Ubuntu 22.04).
- Access to the terminal.
Install Wine from Ubuntu Repository
Installing Wine from the Ubuntu repository is helpful because it ensures you get a tested and optimized Wine version. The following text explains how to do this.
Step 1: Verify Ubuntu 32-bit or 64-bit system
Wine uses different configurations tailored for 32-bit and 64-bit versions of Ubuntu to ensure optimal compatibility and performance when running Windows applications on each architecture.
To view CPU details such as its architecture and capabilities, enter the lscpu command:
lscpu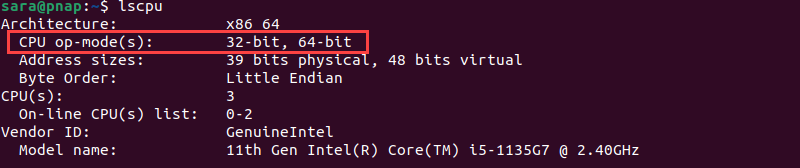
The CPU op-mode(s) field shows which architecture you are using:
- CPU op-mode(s): 32-bit. The system has a 32-bit architecture.
- CPU op-mode(s): 64-bit. The system has a 64-bit OS.
- CPU op-mode(s): 32-bit, 64-bit. The system supports both.
In our example, the system supports both architecture types.
Step 2: Install Wine from Default Repositories
Installing Wine from the default Ubuntu repositories is the easiest option. To do so, follow these steps:
1. Update the apt repository package list. This ensures the latest stable Wine version is installed.
sudo apt update
2. To install 64-bit Wine, enter:
sudo apt install wine64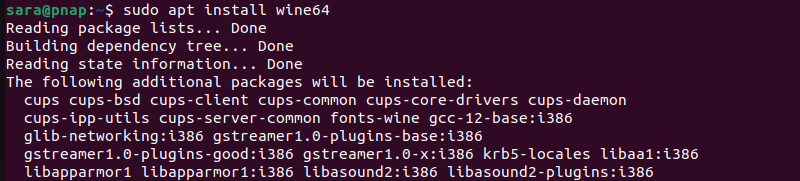
To install 32-bit Wine, use the following command:
sudo apt install wine32Step 3: Verify the Wine Version
After the operation completes, verify the installation by checking the running version:
wine --version
Installing Wine from the official Ubuntu repository provides a stable install. However, the repositories often do not include the latest versions.
Install Wine From the WineHQ Repository
If you need a more recent Wine version, install it from the developers' repositories. The following text explains how to do it.
Step 1: Enable 32-bit Architecture
If you are using a 64-bit OS, enable the 32-bit architecture. This allows you to install and run 32-bit software, including libraries and applications. The process is necessary for Wine because many Windows applications, especially older ones, are designed for 32-bit systems.
sudo dpkg --add-architecture i386The command has no output.
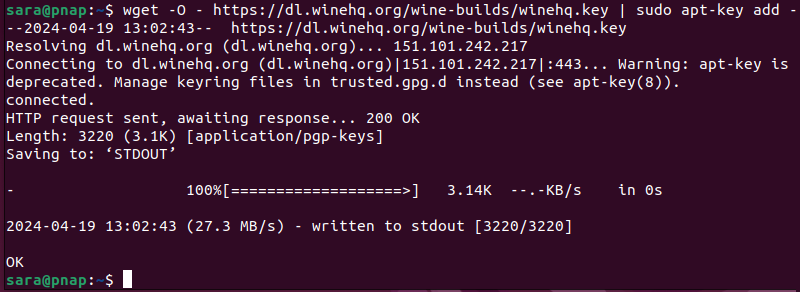
Step 2: Add the GPG Key
Add the GPG key to ensure the downloaded packages are from trusted sources and have not been tampered with.:
wget -O - https://dl.winehq.org/wine-builds/winehq.key | sudo apt-key add -
Step 3: Add the WineHQ Repository to Ubuntu
Run the following command to add the WineHQ repository to Ubuntu:
sudo add-apt-repository 'deb https://dl.winehq.org/wine-builds/ubuntu/ jammy main'

Note: This example uses Ubuntu 22.04. Replace jammy with your Ubuntu version (e.g., focal for Ubuntu 20.04).
Step 4: Install Wine
To install Wine, take the following steps:
1. Update the package lists:
sudo apt update2. Install the latest stable Wine release using the command:
sudo apt install --install-recommends winehq-stable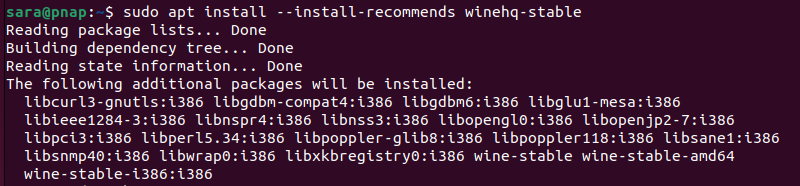
Alternatively, to install the latest development Wine release, use:
sudo apt install --install-recommends winehq-develStep 5: Verify the Installation
Verify the installation by running:
wine --version
Unlike installing Wine from Ubuntu repositories, this method provides the latest Wine version.
How to Update Wine
To update wine, use the command:
sudo apt upgrade winehq-stable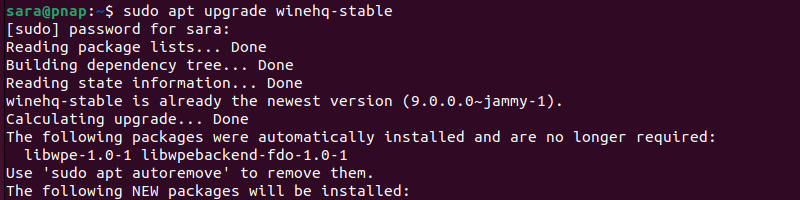
Replace stable with devel for the developer version. Stable releases come out every 10-12 weeks, while developer updates come out more frequently.
Get Started Using Wine
To set up the configuration directory for Wine, run the following command:
wineboot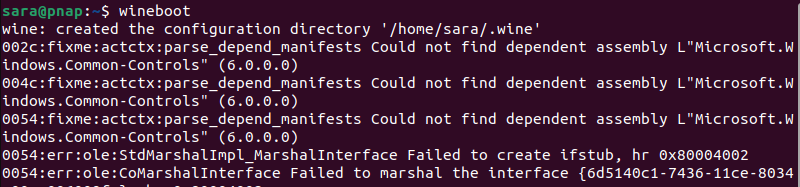
The command creates the Wine configuration directory, typically located at ~/.wine. This directory serves as the Wine C: drive equivalent, where Windows applications are installed and configured.
Launching Applications
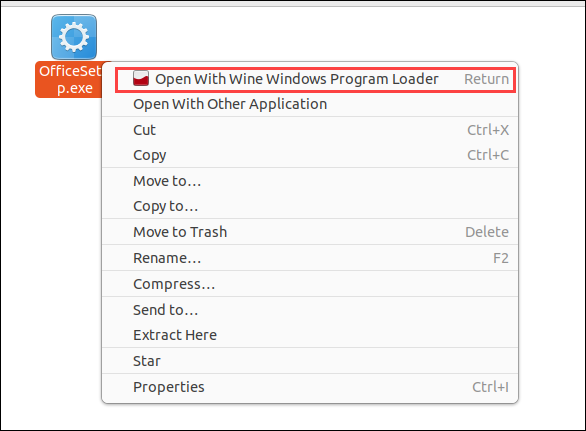
If you're running a GUI on Ubuntu, right-click the .exe file you want to open, in this case, OfficeSetup.exe, and select Open With Wine Windows Program Loader.
To launch the application from the command line, take the following steps:
1. Change the working directory to the OfficeSetup.exe location, in this case the Downloads directory:
cd ~/Downloads
2. Run the OfficeSetup.exe file with Wine:
wine OfficeSetup.exe
wine start Command
Unlike the wine command, wine start allows Wine to manage the working directory. It establishes a standard working directory (often the user's home directory) before application execution, ensuring accurate interpretation of file paths and resource access. This enables Windows programs to access files and resources as if operating in a Windows environment.
The benefits of using wine start are convenience and automation. The command handles the working directory for each application launched, making it more straightforward, especially when dealing with multiple applications or complex directory structures.
To launch a Windows application (OfficeSetup.exe in this example), run:
cd ~/Downloads
wine start OfficeSetup.exe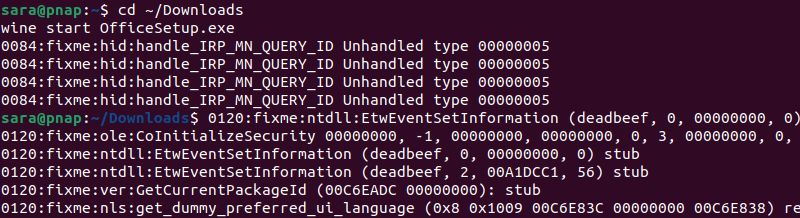
Note: Replace cd ~/Downloads and OfficeSetup.exe with the correct file path and name applicable to your case.
How to Uninstall Wine From Ubuntu
To uninstall Wine, use this command:
sudo apt remove wine[version]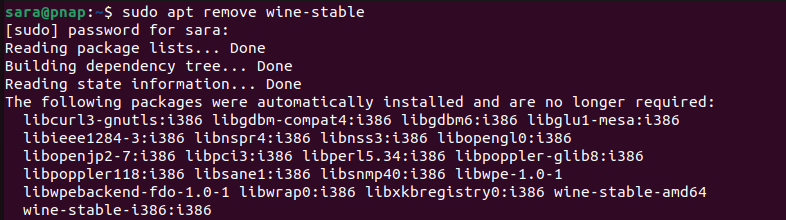
Instead of wine[version], use wine64, wine32, wine-stable or wine-dev depending on the version you have installed.
The command removes Wine but not its dependencies. To remove all unnecessary dependencies, run the command:
sudo apt autoremove
Conclusion
This guide provided instructions for installing and running Wine on Ubuntu and showed how to remove Wine and its dependencies.
Next, read the ultimate comparison between Linux and Windows servers.
