Introduction
Rocky 9 is a server-oriented Linux OS compatible with Red Hat Enterprise Linux (RHEL). Based on intense community development, Rocky is currently one of the best CentOS alternatives. The distribution is free, open source, and caters to production workloads.
Virtual machine software, such as VMware, enables test-driving Rocky Linux. By relying on hypervisors, a host machine can separate hardware resources and provision them to the virtual machine.
This guide offers a step-by-step tutorial on how to install Rocky Linux on VMware.
Prerequisites
- Windows or Linux host OS.
- VMware Workstation installed (follow our guide for installing VMware on Ubuntu).
- Rocky 9 ISO file, available on the official website. The guide uses Minimal.
How to Install Rocky Linux on VMware
Installing Rocky Linux on a virtual machine requires some additional setup in VMware settings. The process consists of two simple steps:
1. Create the Rocky Linux virtual machine and configure hardware settings.
2. Install Rocky Linux on the VM.
Below is an in-depth explanation of each step to follow along.
Step 1: Create and Configure The Rocky Linux VM
To create the Rocky Linux virtual machine, run VMware Workstation and:
1. Go to File -> New Virtual Machine to create a new VM. Alternatively, use the shortcut CTRL+N.
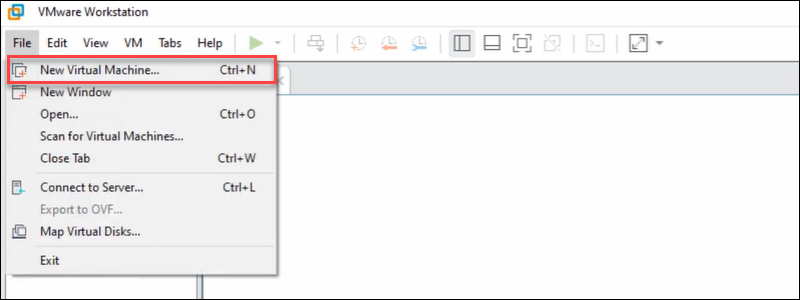
The New Virtual Machine wizard opens.
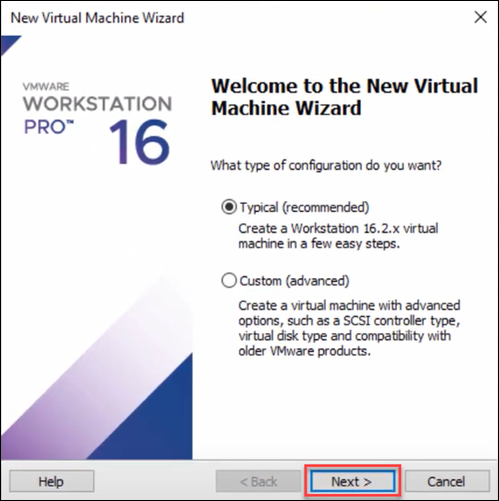
2. Leave the Typical (recommended) configuration option and click Next.
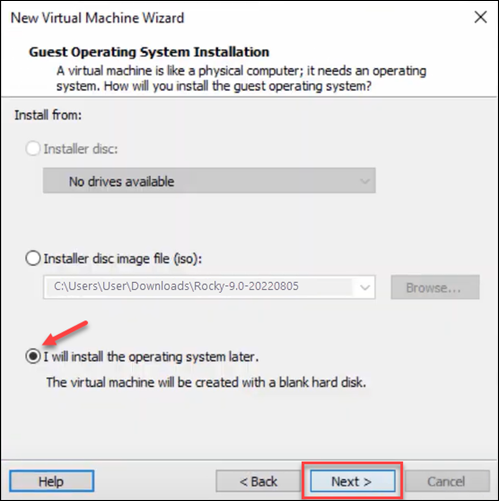
3. Choose the I will install the operating system later option and click Next.
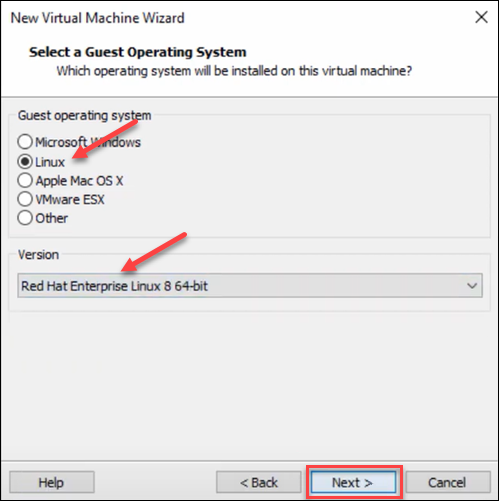
4. Set the Guest OS as Linux. Open the dropdown menu and choose Red Hat Enterprise Linux 8 for the version. Click Next to proceed.
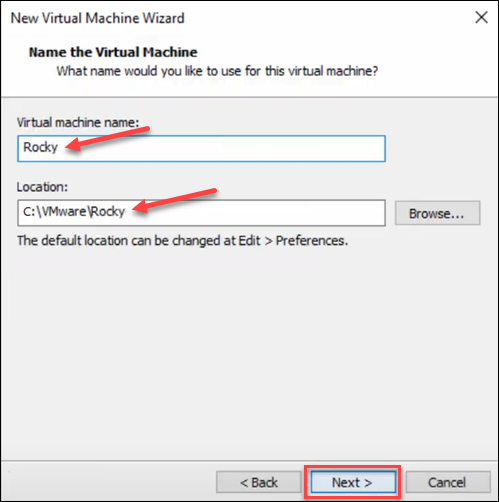
5. Provide the guest OS name (Rocky) and installation location. Click Next to continue.
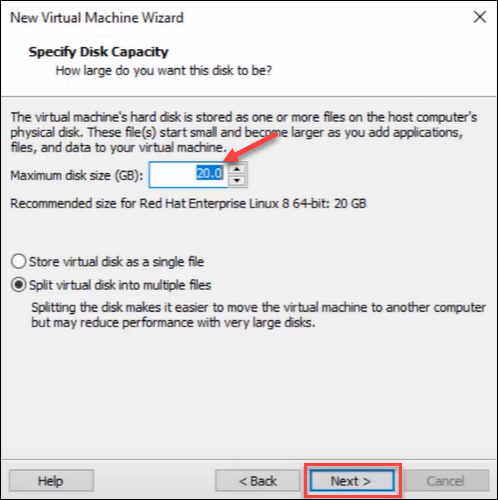
6. Specify the disk capacity and click Next to proceed. The minimum requirement is 20GB.
7. The final creation page allows customizing the hardware options for the virtual machine. Click the Customize Hardware button.
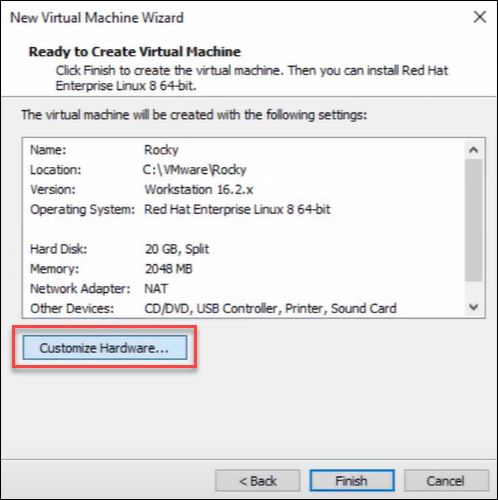
The hardware customization window opens.
8. Set custom values for the following options:
- Memory (at least 4GB).
- New CD/DVD (SATA) (provide the ISO image file location).
- Network Adapter (choose Custom VMnet0 (Bridged)).
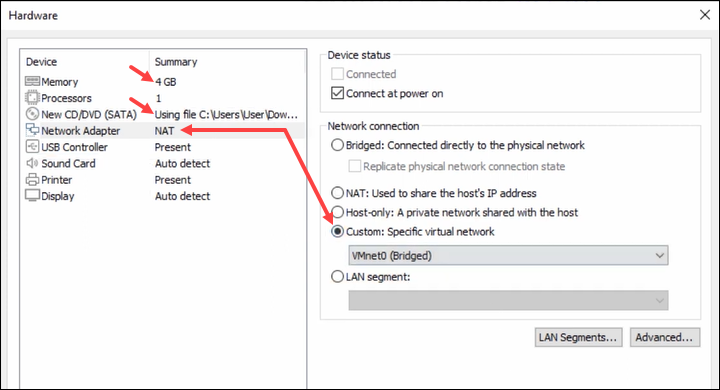
Click Close to exit the hardware setup window.
9. Review the changes and click Finish when ready.
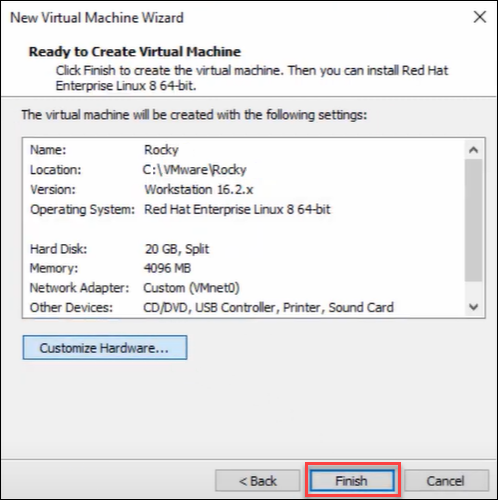
The Rocky Linux OS is ready for installation on the virtual machine.
Note: We also recommend you learn how to install Rocky Linux on VirtualBox.
Step 2: Install Rocky Linux On The VM
To start the Rocky Linux OS installation, click Power on this virtual machine.
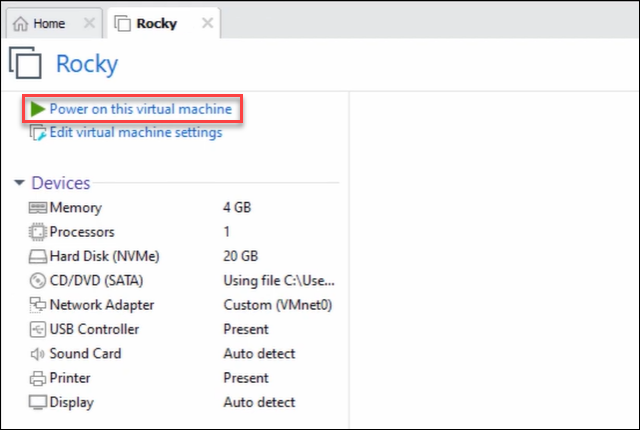
The virtual machine window opens.
To install the OS, follow the steps below:
1. Use the arrow keys to select the Install Rocky Linux 9.0 option and press Enter.
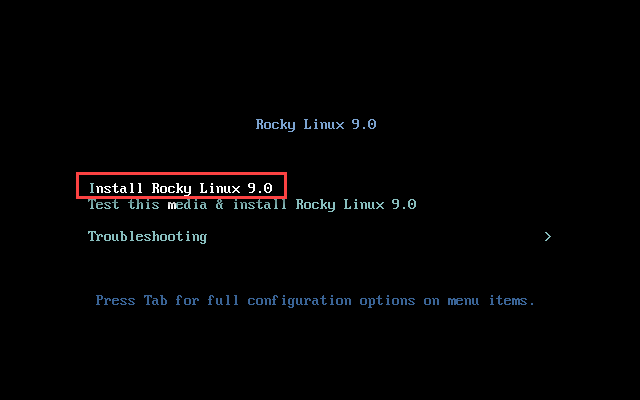
Wait for the installer to load and start.
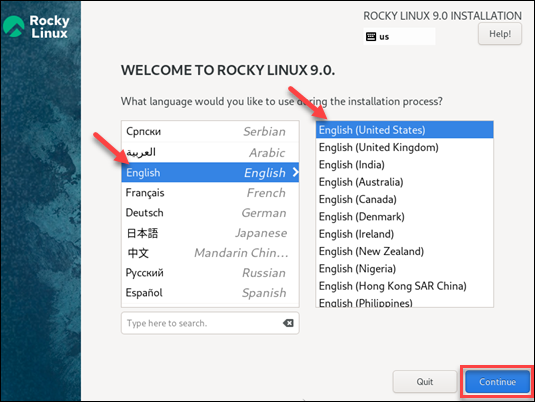
2. Choose the language and keyboard layout. Press Continue to confirm the choice and proceed.
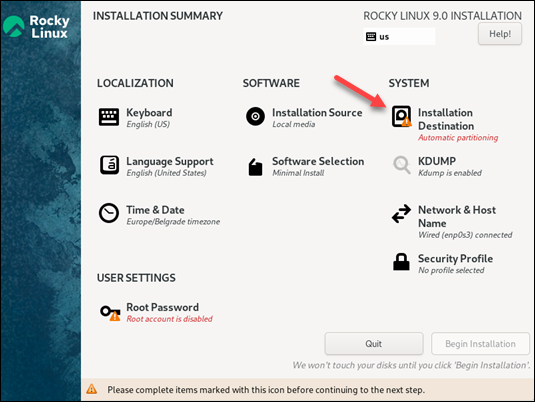
3. Set up the minimum required installation options. In the System section, choose Installation Destination.
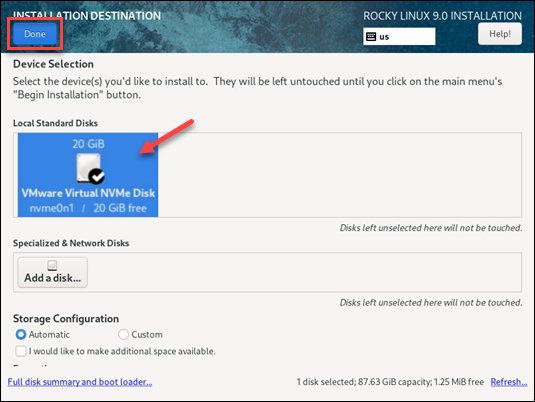
4. Select the installation disk and click Done.
5. Next, set up the Root Password account in the User settings.
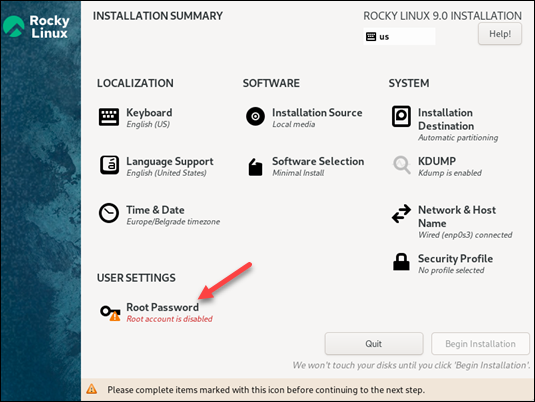
6. Choose a strong password for the root account and click Done.
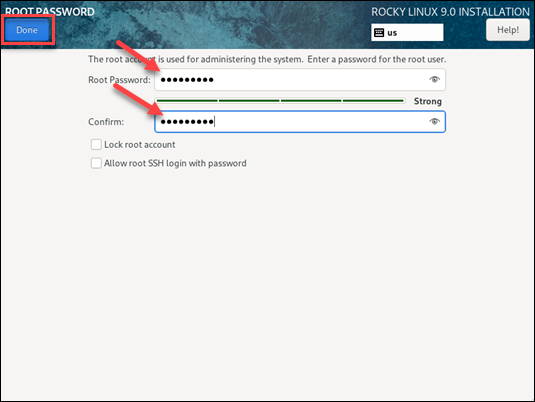
The minimal requirements are set up.
7. Review the installation summary. When ready, click Begin Installation to start the installation.
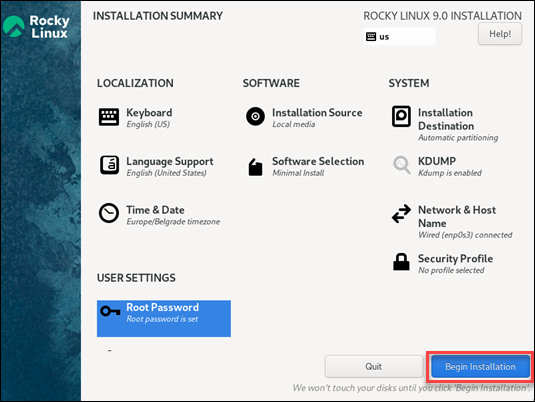
Wait for the installation to complete.
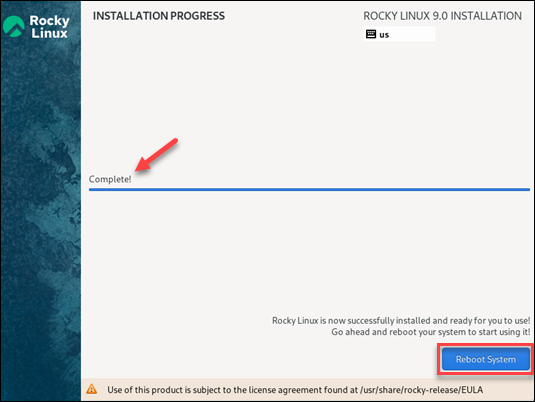
8. When the installation completes, press the Reboot System button.
9. Log into the root account (username root, password from step 6).
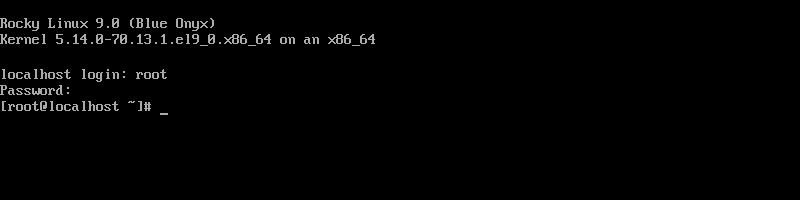
The virtual machine with Rocky 9 is ready to use.
Note: Our Knowledge Base also features a step-by-step guide on how to install Rocky Linux on your machine.
Conclusion
After following the steps from this guide, you've successfully installed Rocky 9 on a virtual machine using VMware.
Next, see how you can set up phoenixNAP's BMC server with Rocky 9 using the Custom OS feature.
